
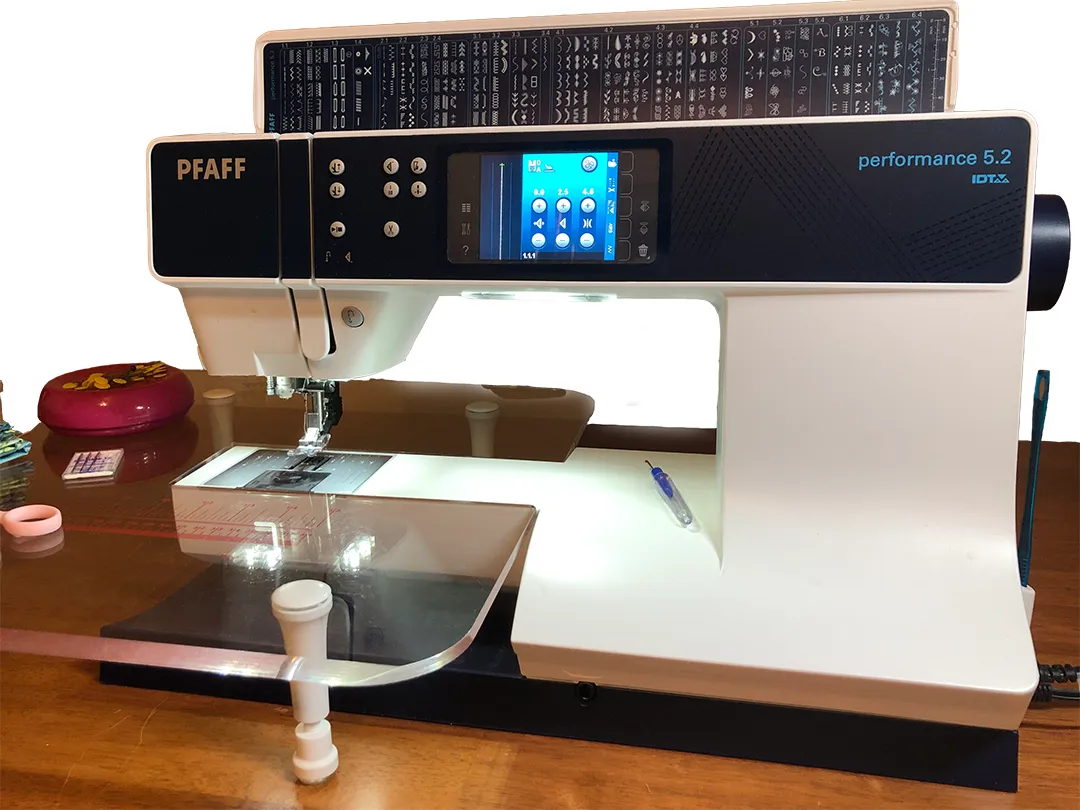
Before you cut a single piece of fabric, every quilter needs a few go-to quilting tips for beginners to set a new project up for success. If you’re anything like me, the excitement of fresh fabric and a fun pattern makes it really tempting to just dive right in — but taking a few minutes to prep first makes your whole sewing experience so much smoother. These are the 5 steps I swear by, and I think they’ll become your go-to routine too.
5 Quilting Tips for Beginners: Your Pre-Project Checklist
Here’s exactly what to do before you sew a single stitch. Yes, it’s a little extra work upfront — but these quilting tips for beginners pay off every single time. You’ll spend less time troubleshooting, more time sewing, and end up with a quilt you’re really proud of. Let’s walk through them together.
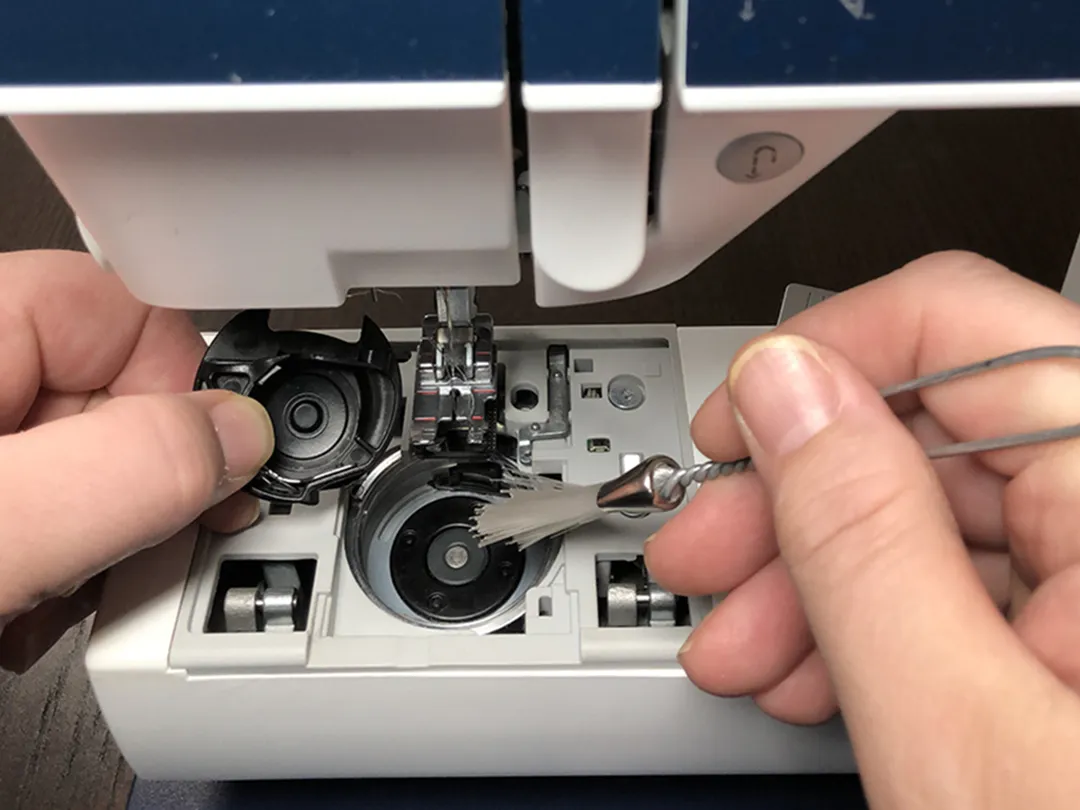
Tip 1: Start with a Clean Sewing Machine (A Top Beginner Quilting Tip)
Your sewing machine is about to work hard, so you want to give it a little love before you get started. Take a few minutes to remove loose threads, lint, and dust from the bobbin area. That buildup can cause all kinds of headaches mid-project, and we definitely don’t want that!
While you’re at it, check your machine’s manual to see if it needs oiling – now is the perfect time. And get into the habit of doing a quick clean-out every couple of bobbins as you work. I like to remove the throat plate and give the bobbin housing a little sweep. If you’re working with flannel or another linty fabric, you may want to clean after every single bobbin. You’ll get a feel for what your machine needs!
One more thing: if it’s been a while since your machine had a professional cleaning, it might be worth scheduling one with your local dealer. You’d be amazed at how much lint and gunk (yes, those are totally legit quilting terms (winking face emoji) )can sneak inside over time.
Tip 2: Check Your Sewing Machine Accessories
Raise your hand if you’ve ever switched out an accessory for a non-quilting project and then totally forgotten to switch it back. (person raising hand emoji) Yep, me too! Before you start quilting, do a quick check to make sure everything is set up the way you like it. Here’s what to look for:
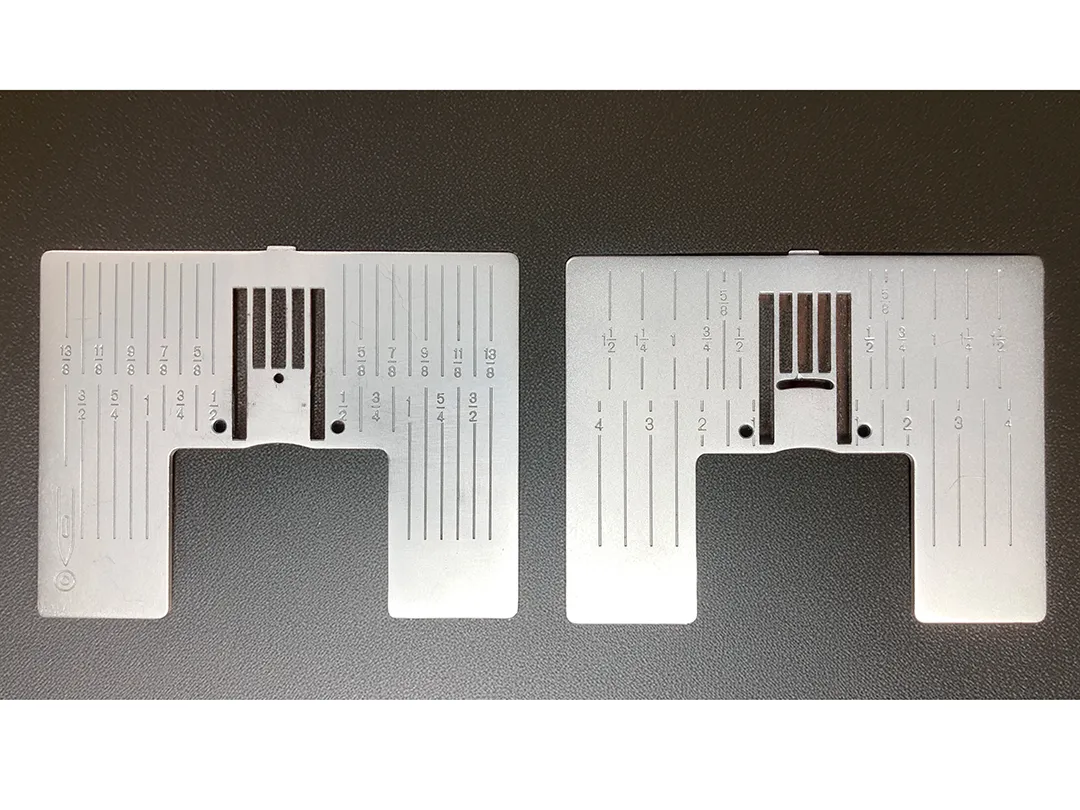
Throat Plate / Stitch Plate (This One Is An Eye Opening Beginner Quilting Tip)
I prefer a single-needle throat plate for piecing because it has a smaller needle hole opening, which helps keep fabric from getting pulled down into the machine. If you’ve ever had your fabric “eat itself” at the start of a seam, swapping to a single-needle plate can be a game changer!
Presser Foot
A ¼” quilting presser foot is one of my favorite tools for getting accurate, consistent seams. If you don’t have one yet, no worries – you can mark a ¼” seam guide directly on your machine with a piece of tape or a sticky note to help guide your fabric.
Extension Table
If your machine has an extension table, put it on! It gives you a larger, level surface to support your quilt as it grows, which makes a big difference in keeping your piecing smooth and accurate. If you don’t have one, do your best to make sure your quilt isn’t hanging off the edge of your work surface and pulling your seams.
Tip 3: Insert a Fresh Needle (A Commonly Skipped Over Beginner Quilting Tip)
This one is so simple, but it makes such a big difference! A dull or damaged needle can cause skipped stitches, snagged fabric, and all kinds of frustration. I keep a sticky note on my machine with the date I last changed my needle so I don’t lose track.
For quilting cotton, my go-to is the Schmetz Microtex needle. It has a sharper, slimmer point than a universal needle, which makes it great for the tightly woven fabrics we typically use in quilting. If you’re not sure which needle is right for your project, the Schmetz ABC Pocket Guide is a super helpful (and free!) reference.
Tip 4: Wind Your Bobbins in Advance
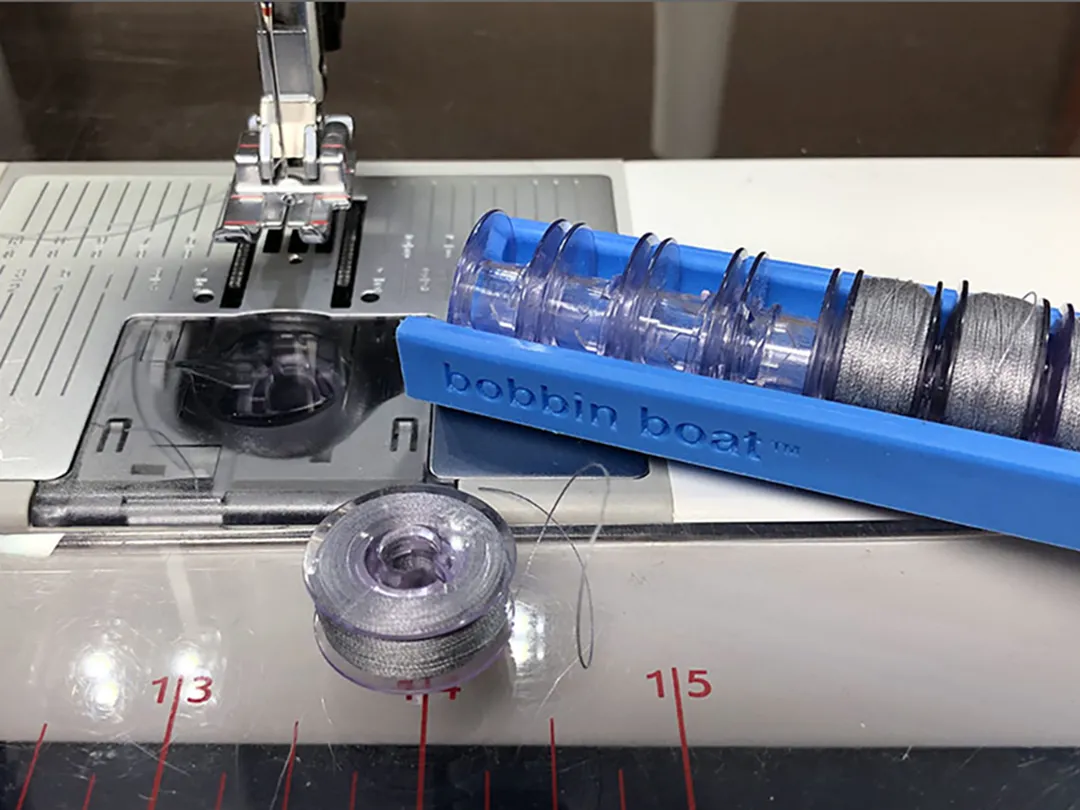
This tip is a total time-saver and one of my favorites! Instead of stopping mid-project to wind a new bobbin every time you run out, take a few minutes before you start to wind a small batch. I usually wind about 10 at once and store them in my bobbin boat so I can easily see how many I have left.
Since I use the same neutral gray thread for most of my piecing, this works really well for me. If your project calls for a specific thread color, just estimate how many bobbins you’ll need based on the size of your quilt and wind those ahead of time. You’ll thank yourself later!
Tip 5: Test Your Tension on a Scrap Piece of Fabric
Last but definitely not least – always do a quick tension test before you start sewing. Use a scrap of the same fabric you’ll be using in your project and sew a few lines. You’re looking for even, balanced stitches on both the top and bottom of the fabric.
It might seem like a small thing, but switching to a new thread or a different fabric weight can throw off your tension. Catching it now – before you’ve sewn a single seam on your quilt – is so much easier than discovering it later and having to rip out stitches. Been there, done that! For more quick-reference tools like this, check out my Fabric Yardage Conversion Chart — another great one to keep at your cutting station.”
I know, I know – you’re excited to get sewing! But I truly believe that running through these quilting tips for beginners will set you up for a much happier quilting experience. A little prep goes a long way, and your machine (and your future self) will thank you. And if you’re new to the quilting world and still getting familiar with the lingo, my Quilting Acronyms Guide is a great next read.
I’d love to hear from you – what’s on your pre-quilting checklist? Drop your must-do tips in the comments below!
Until next time, happy quilting!